[iOS] Firebase FCM을 이용한 서버 푸시 구현
서버 알림
서버 알림(서버 푸시)은 앱 서버 또는 외부 서버에서 생성되고 디바이스로 보내지는 알림을 보내는 방법으로,
로컬 알림과 같은 동작을 수행하지만 알림을 보내는 출처가 다르다는 특징이 있습니다.
서버 알림을 보내기 위해선 APNs을 등록해야만 가능합니다.
APNs (Apple Push Notification service)
APNs란 Apple Push Notification service의 약자(보통 APN이라고 부릅니다.)로,
third party 개발자가 앱에 푸시 알람을 보낼 수 있도록 Apple에서 만든 알림 서비스 플랫폼을 의미합니다.
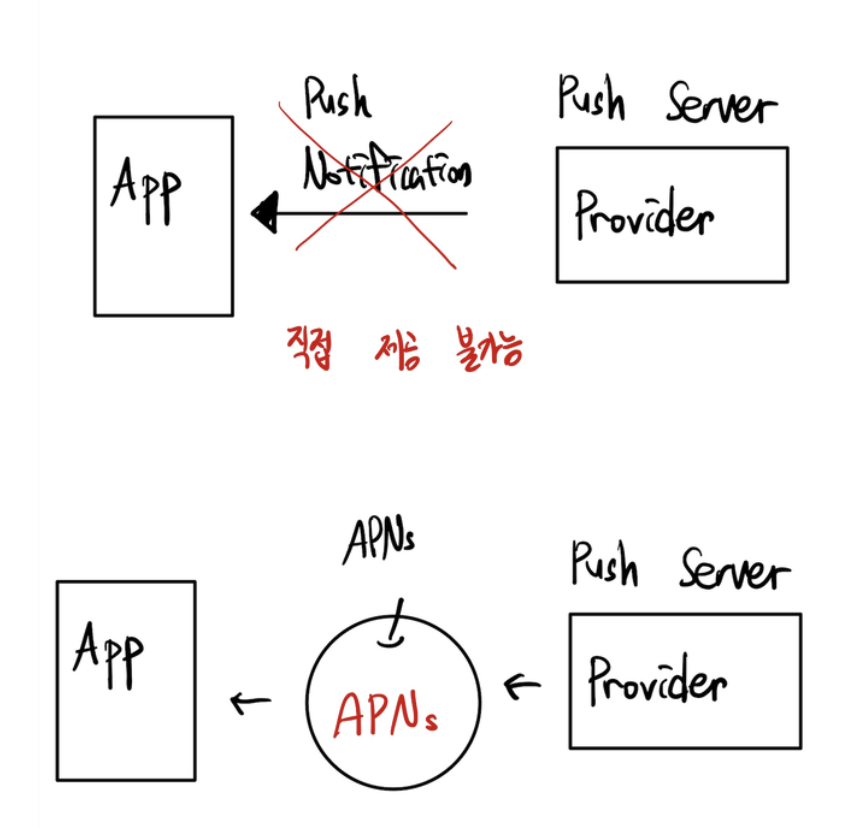
여기서 third party란 푸시 서버를 말하는 것입니다.
Apple은 푸시 서버가 직접적으로 앱에 알림을 보내는 것을 허용하지 않고, APNs에게 푸시 요청을 보내고, 만약 해당 요청이 유효하다면 푸시 알림을 보내는 방법으로 진행됩니다.
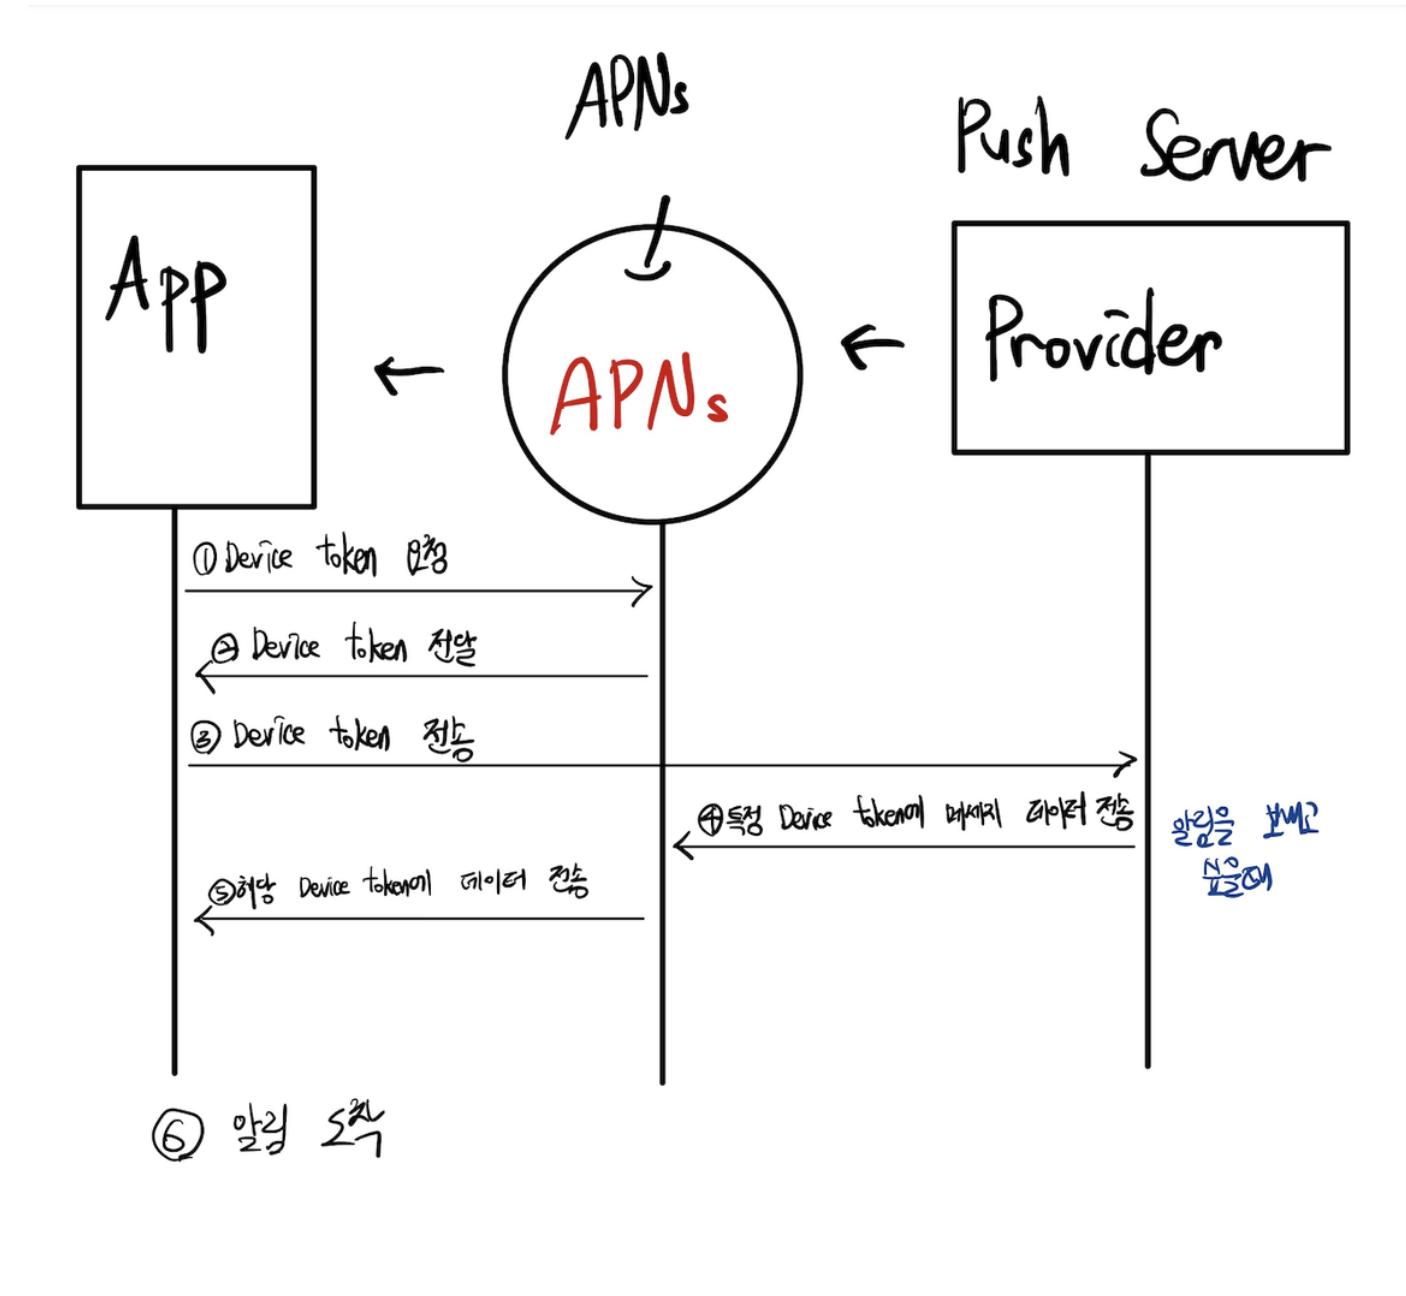
그 다음으로는 푸시 서버에서는 알림을 보내고 싶은 특정 디바이스를 찾아 알림을 보내는 동작 방식에 대해 설명하겠습니다.
우선 순서는 다음과 같습니다.
- App이 APNs에게 Device Token을 요청합니다.
- APNs가 App에게 Device Token을 알려줍니다.
- App이 푸시 서버에 Device Token을 보내줍니다.
- 푸시 서버는 APNs에게 Device Token과 보내고자 하는 데이터를 보냅니다.
- APNs는 해당 Device Token으로 데이터를 보내줍니다.
- Device에 푸시 알림이 도착합니다.
Device Token
Device Token이란 푸시가 전송되는 App의 주소로, APNs가 기기에 푸시를 보내기 위한 고유 주소라고 생각하시면 될 것 같습니다. (쉽게 말해 내 기기에 있는 앱에 대한 주소라고 생각하면 될 듯 합니다.)
이는 애플에서 정한 고유한 식별자를 포함시킨 NSData 형태로, APNs만 해독을 할 수 있습니다.
또한 서버 푸시가 APNs에게 Device Token과 메세지에 관련된 데이터를 보내줘야하는데, 이 데이터는 JSON 형식이어야 하고, payload가 256 byte를 초과하지 않는 작은 크기여야 합니다.
- 페이로드(payload)란 사용에 있어서 전송되는 ‘순수한 데이터’를 의미하며, 큰 덩어리 데이터 중 우리가 필요한 데이터를 의미합니다.
{
    "status":"OK",
    "data": {
        "message":"Hello, world!"
    }
}
위의 데이터에서 “Hello, world!”가 클라이언트에게 필요한 페이로드가 되는 것입니다.
하지만 위의 방식은 인증서를 발급받고, 만료되면 갱신도 해야하는 등 복잡하지만, Firebase를 이용한 FCM(Firebase Cloud Messaging) 방식을 사용하면 더욱 편리하고 빠르게 구현을 도와주기 때문에 FCM 방식을 사용할 예정입니다.
FCM
FCM이란 Firebase Cloud Messaging이라고 하여, APNs의 복잡한 인증 방식을 보다 간편하게 이용할 수 있도록 도와줍니다.
FCM을 이용한 서버 푸시는 다음과 같은 방식으로 진행됩니다.
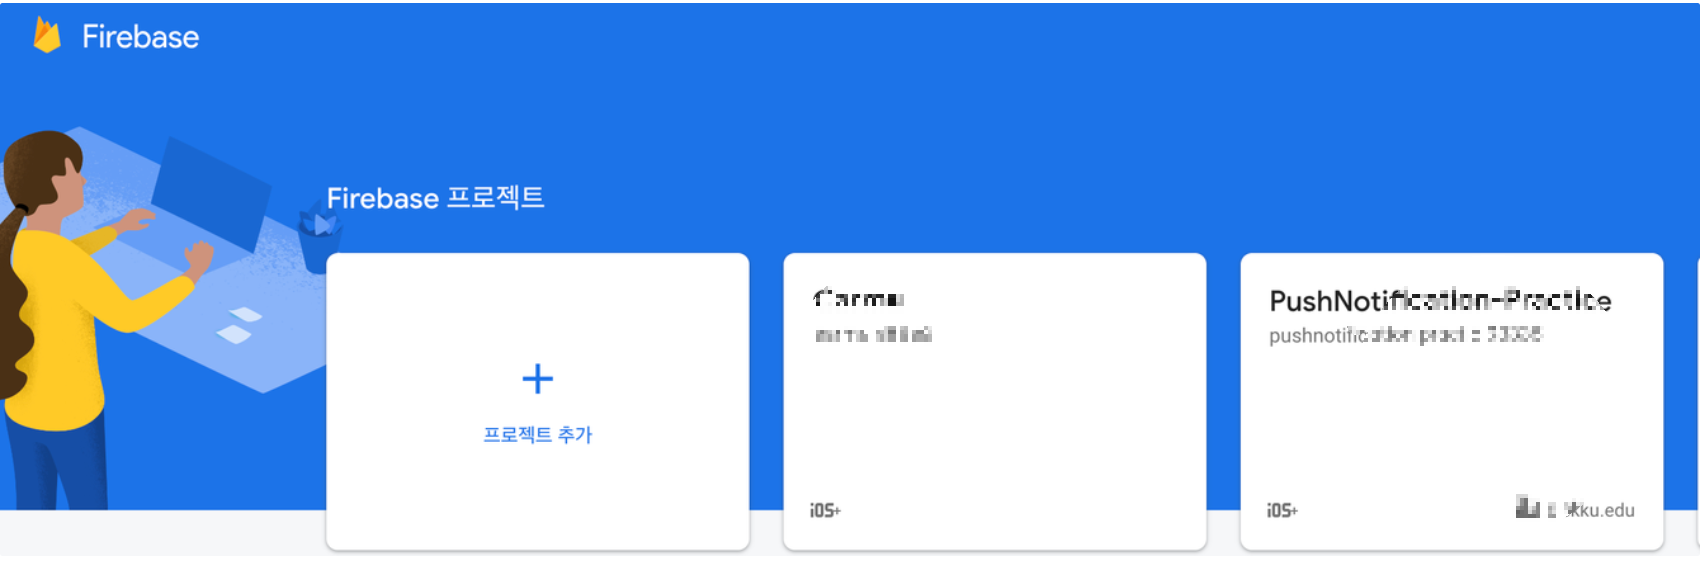
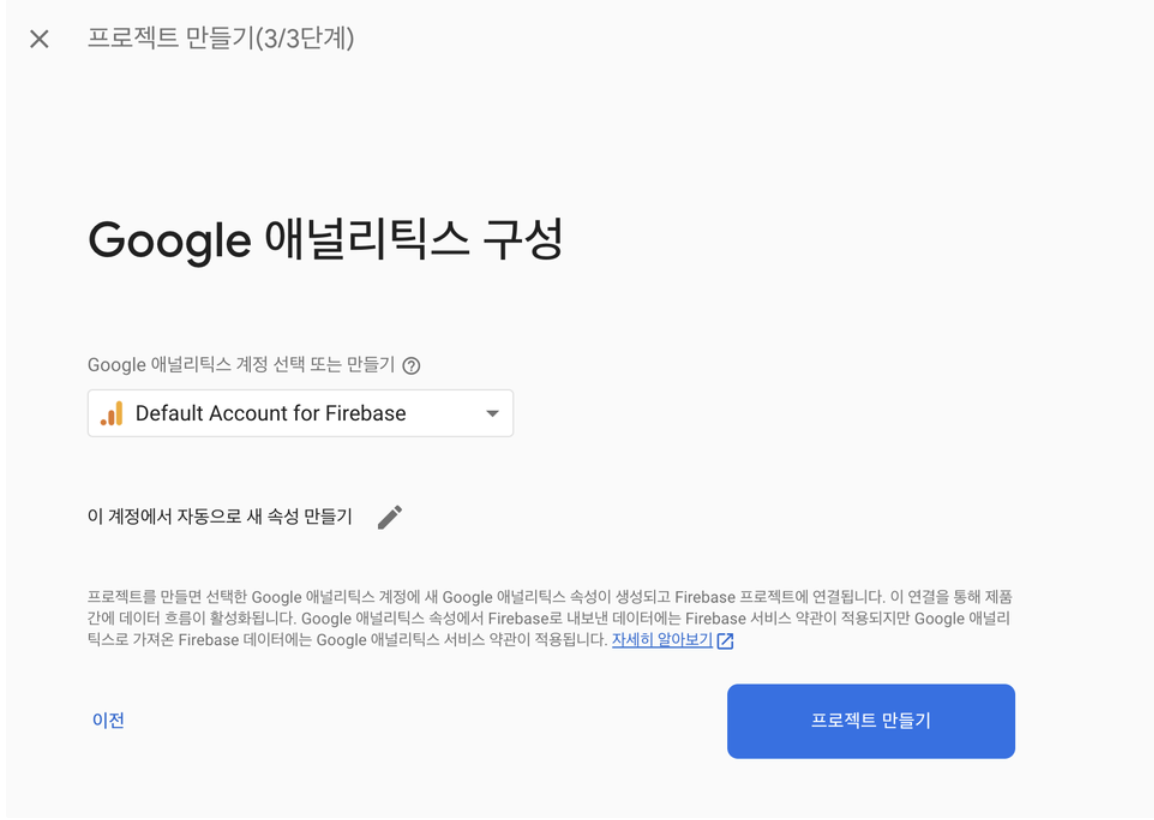
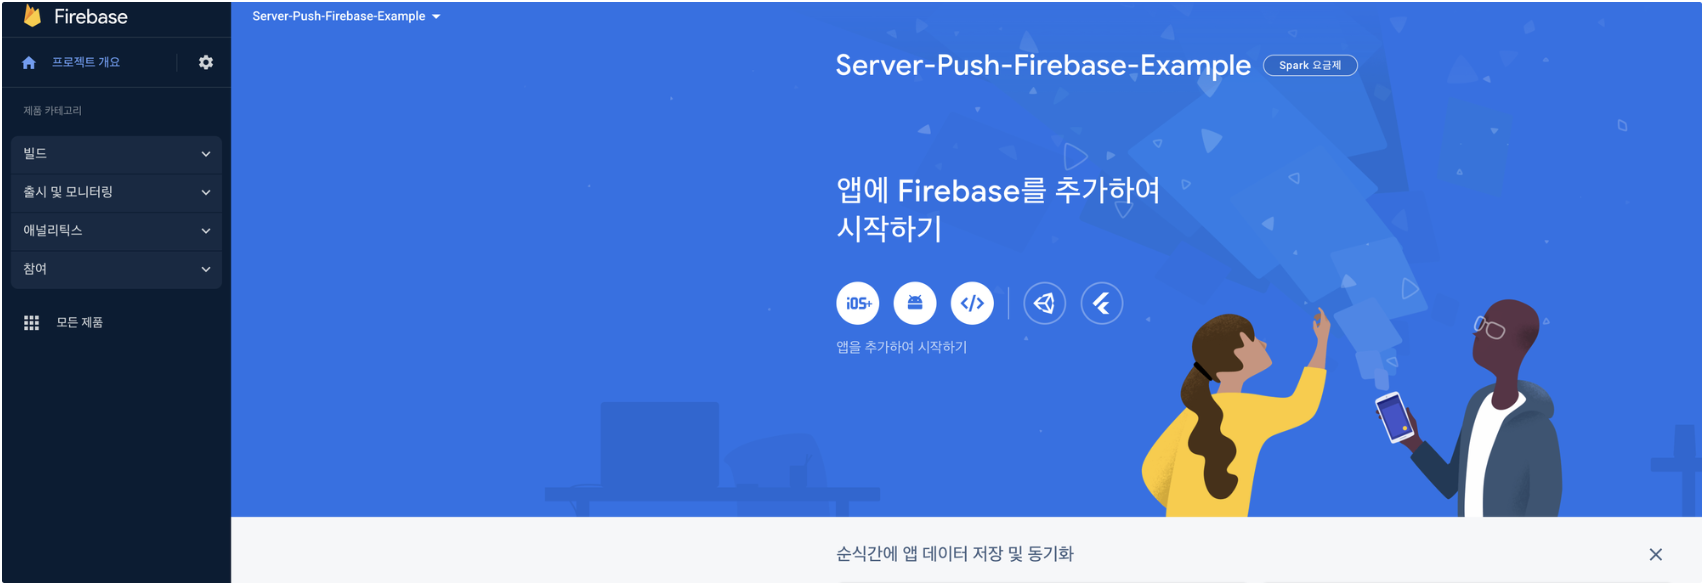
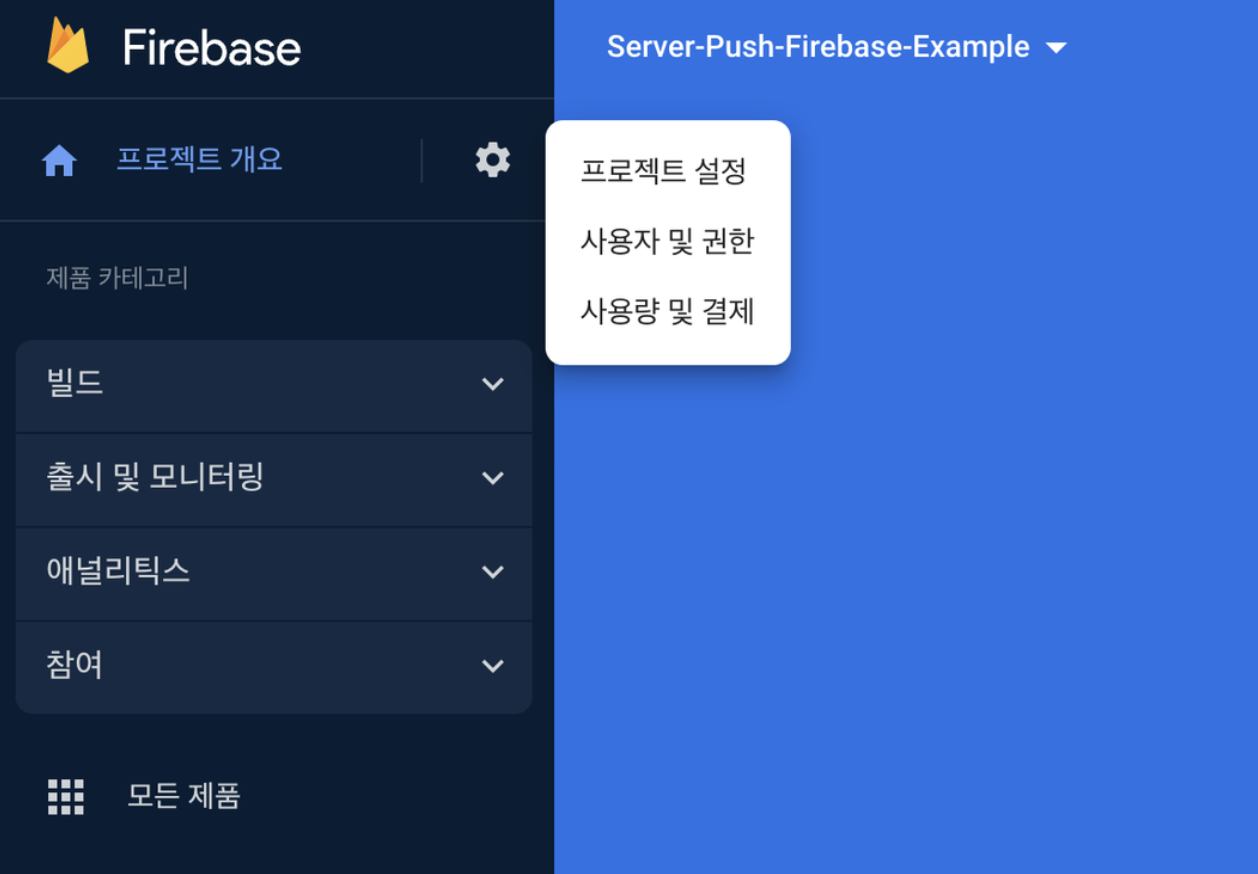
1. Firebase 콘솔에 프로젝트를 생성합니다.
기본 계정으로 생성해줍니다.
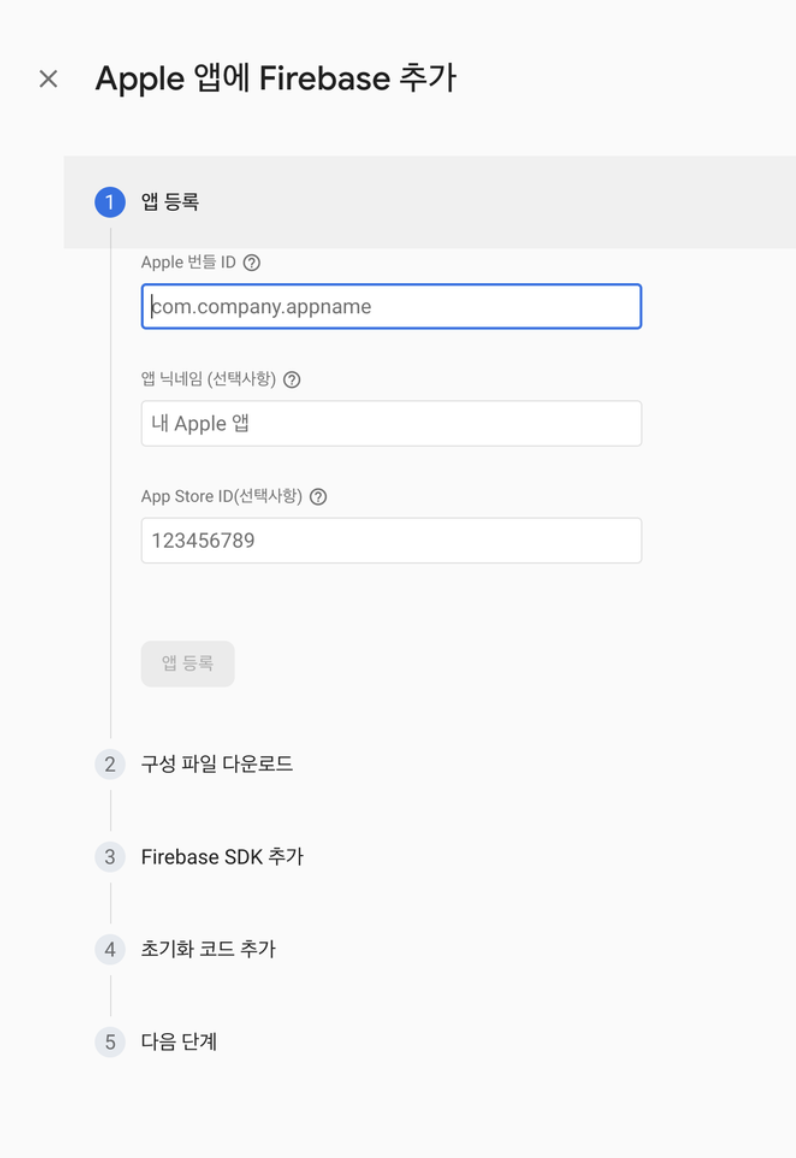
2. 생성이 완료되면, iOS를 클릭합니다.
3. 나머지는 선택사항이므로 앱의 Bundle ID를 입력해주고, 등록을 클릭해줍니다.
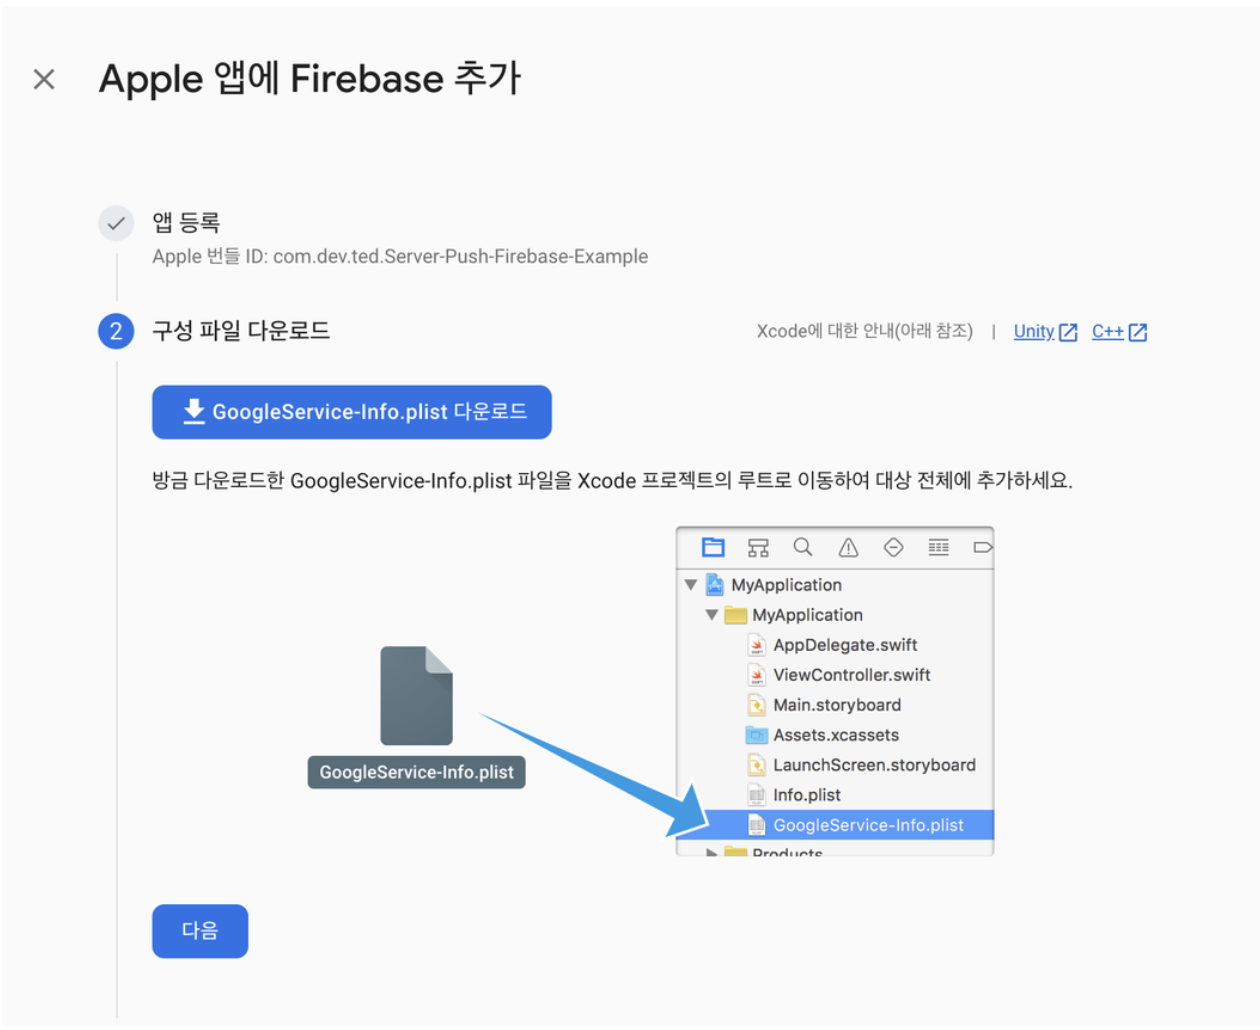
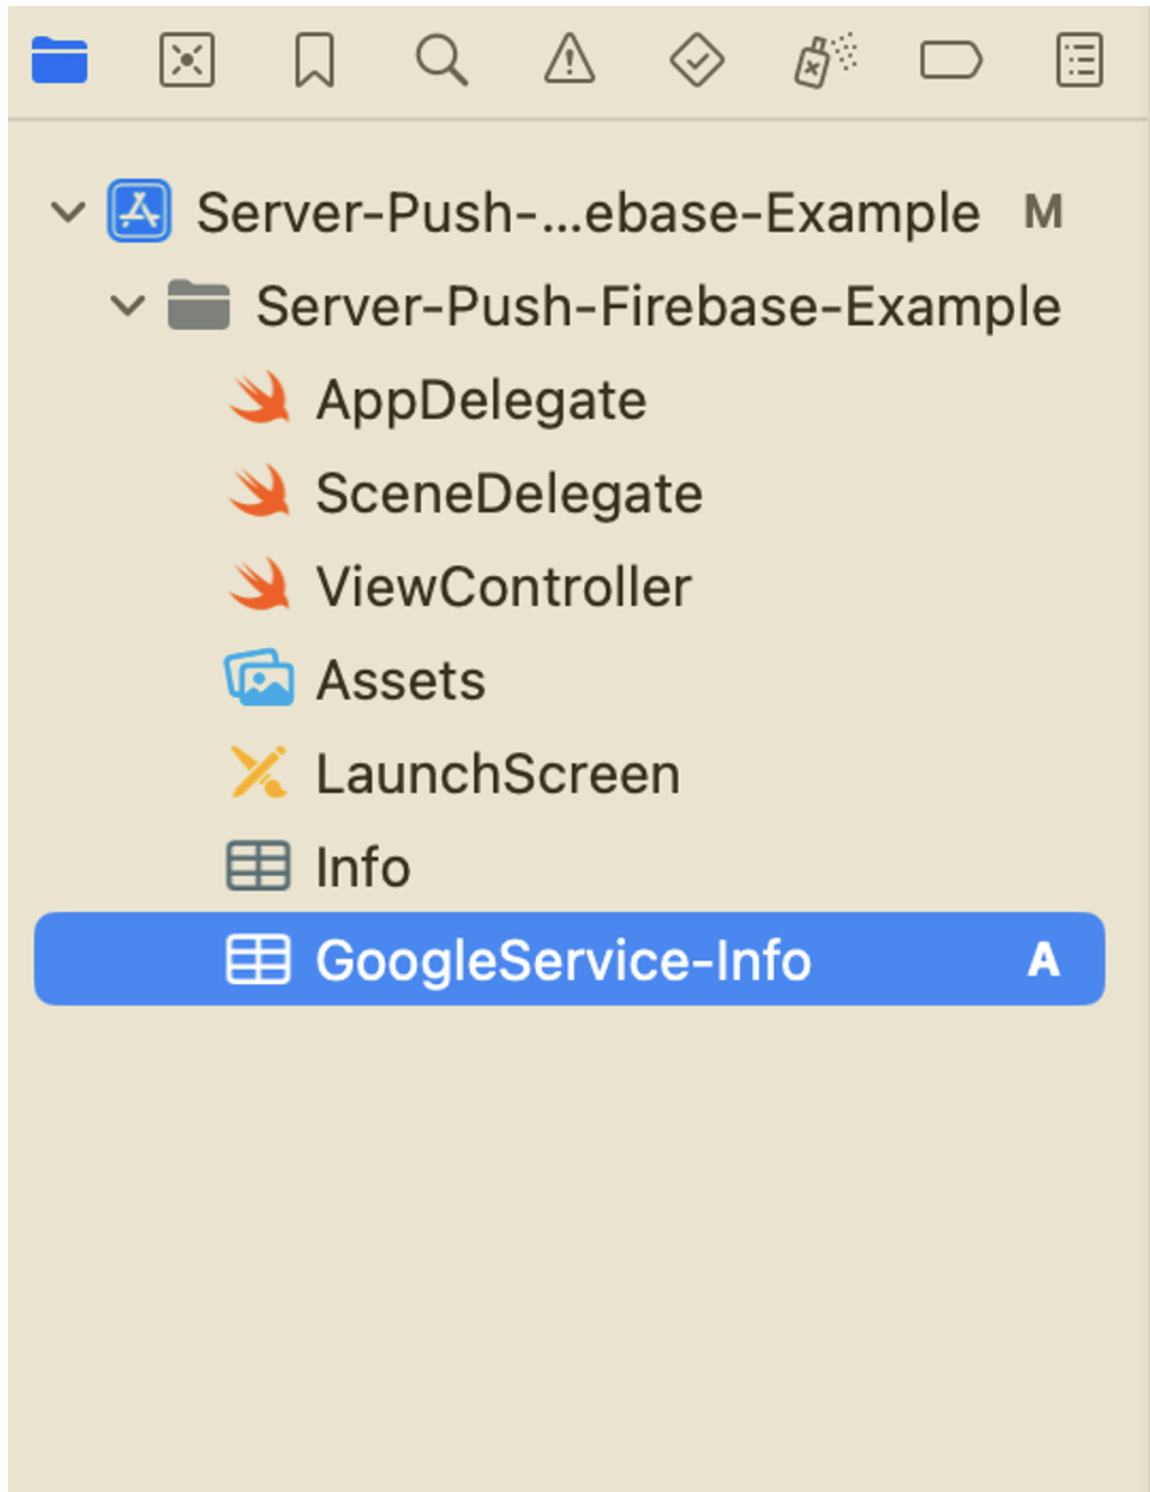
4. info.plist를 다운받고, 프로젝트에 추가해줍니다.
5. Firebase SDK를 추가합니다.
[File] → [Add Package Dependancies]에서 해당 url을 입력한 후, 다운받아줍니다.
https://github.com/firebase/firebase-ios-sdk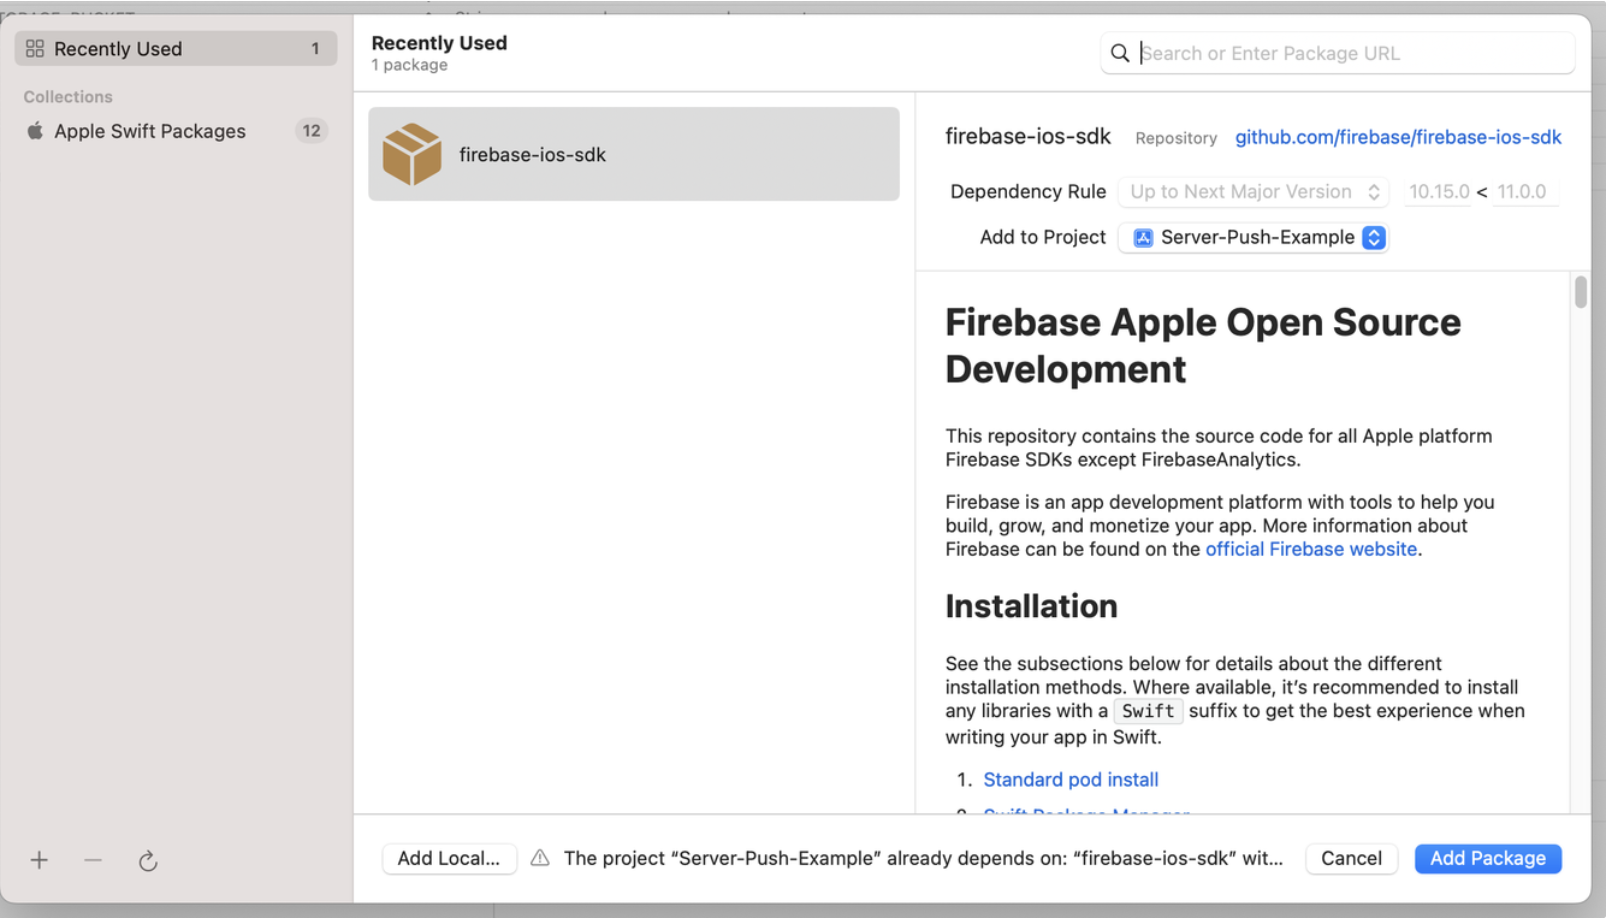
사실 여기서 Analystics와 Messaging만 다운받아도 상관 없긴 하나, 저는 우선 전체를 다운받았습니다.
6. 앱이 시작될 때 Firebase에 연결하려면 아래의 초기화 코드를 앱의 기본 진입점인 AppDelegate에 추가합니다.
import UIKit
import FirebaseCore    // import


@UIApplicationMain
class AppDelegate: UIResponder, UIApplicationDelegate {

  var window: UIWindow?

  func application(_ application: UIApplication,
    didFinishLaunchingWithOptions launchOptions:
      [UIApplicationLaunchOptionsKey: Any]?) -> Bool {    // Firebase 선언
    FirebaseApp.configure()

    return true
  }
}
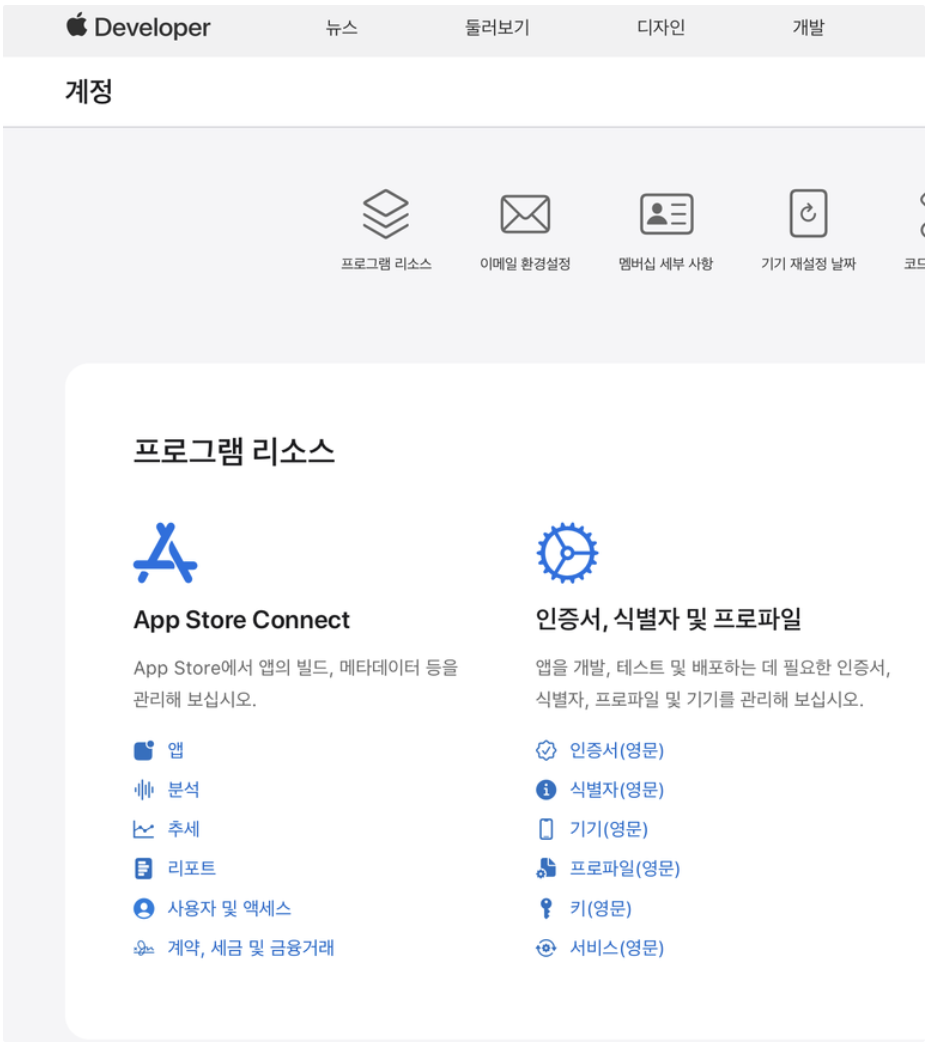
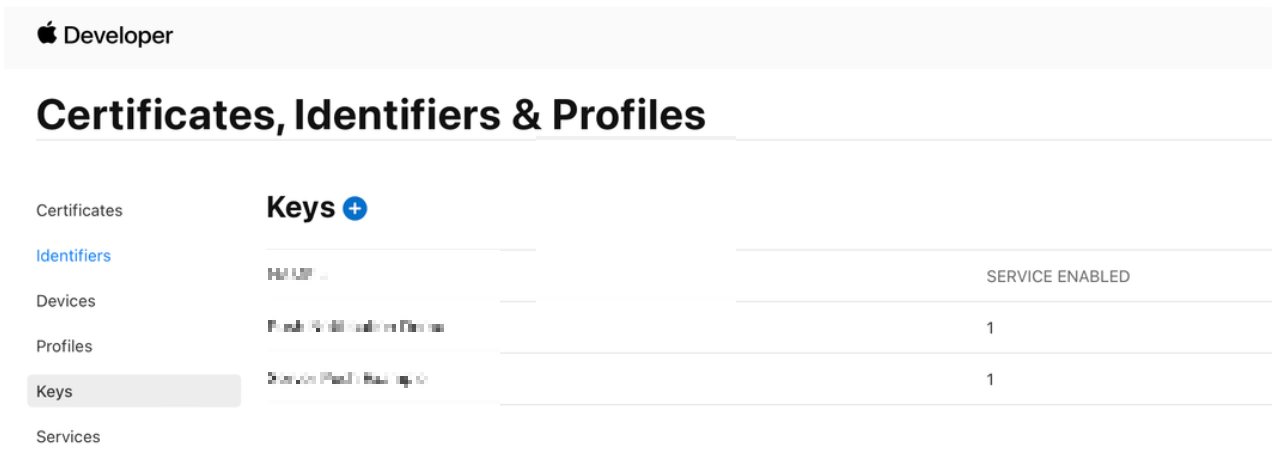
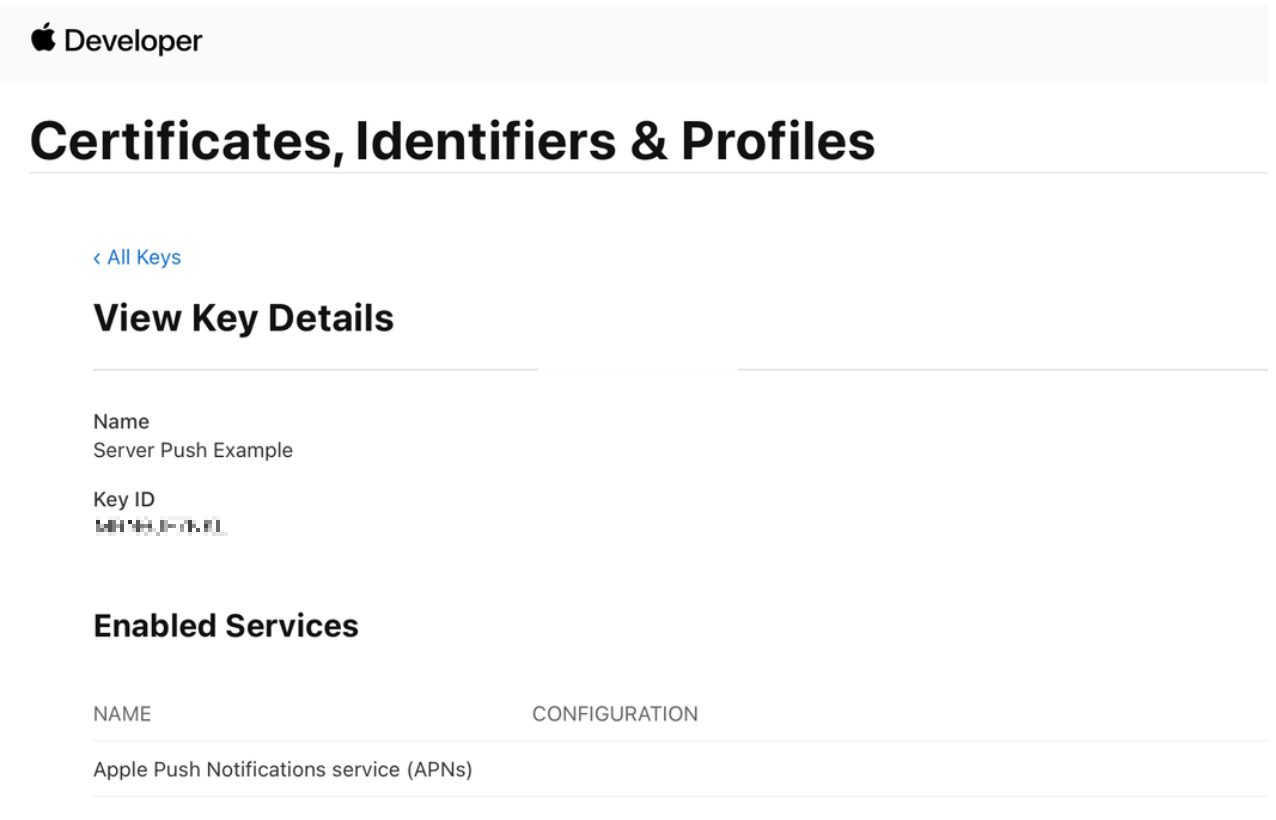
7. APNs key를 업로드하기 위해 Developer사이트에 접속하여 [Keys]에서 추가합니다.
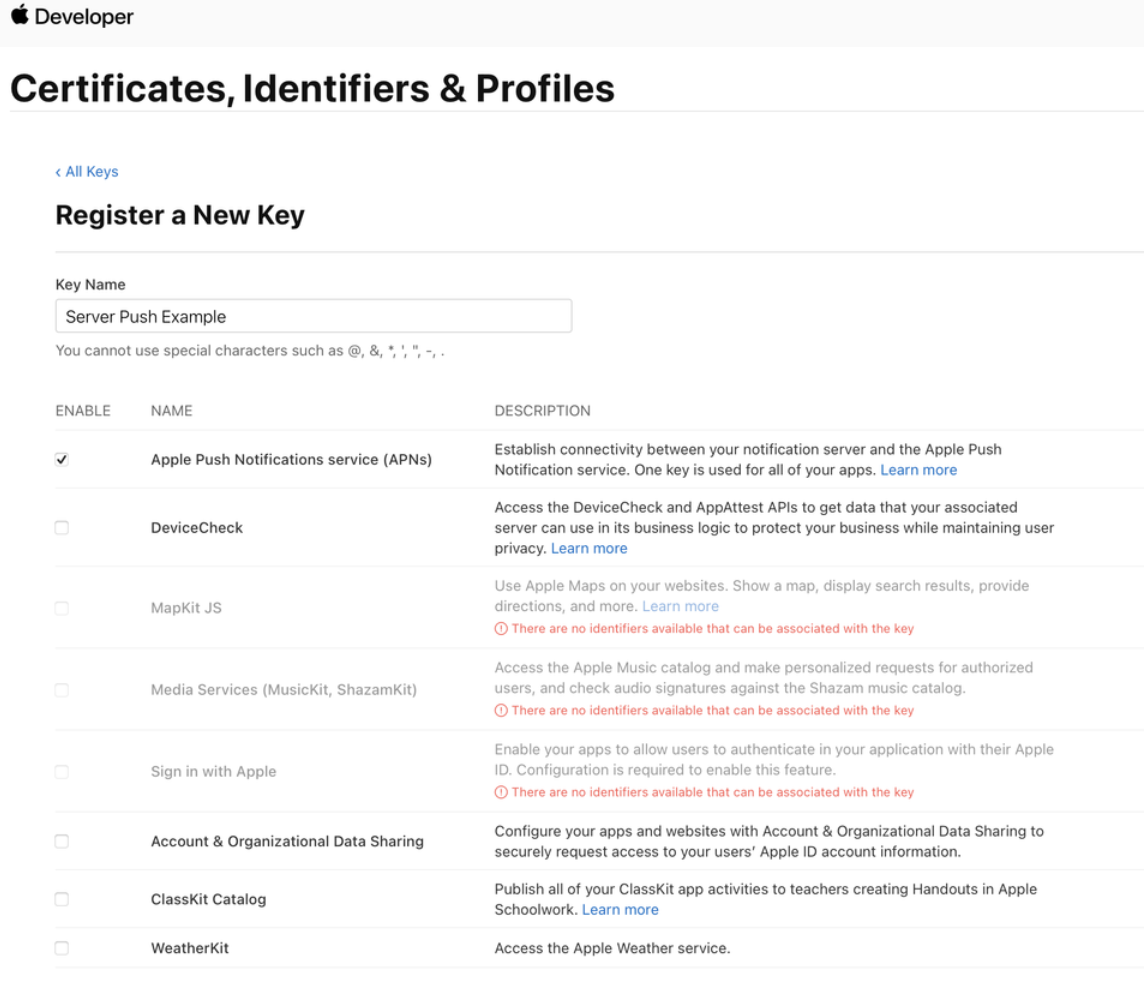
8. 이름 입력 후 APNs를 선택한 뒤 등록하면 다운받을 수 있는 파일(.p8)을 다운로드 받아줍니다.
9. Firebase 홈페이지에서 [프로젝트 설정] → [클라우드 메세징]에 다운받은 .p8 파일을 업로드 시켜주고, 키 ID와 팀 이름을 입력해줍니다. 키 ID는 키를 다운받을 수 있는 창에서 확인하실 수 있습니다.
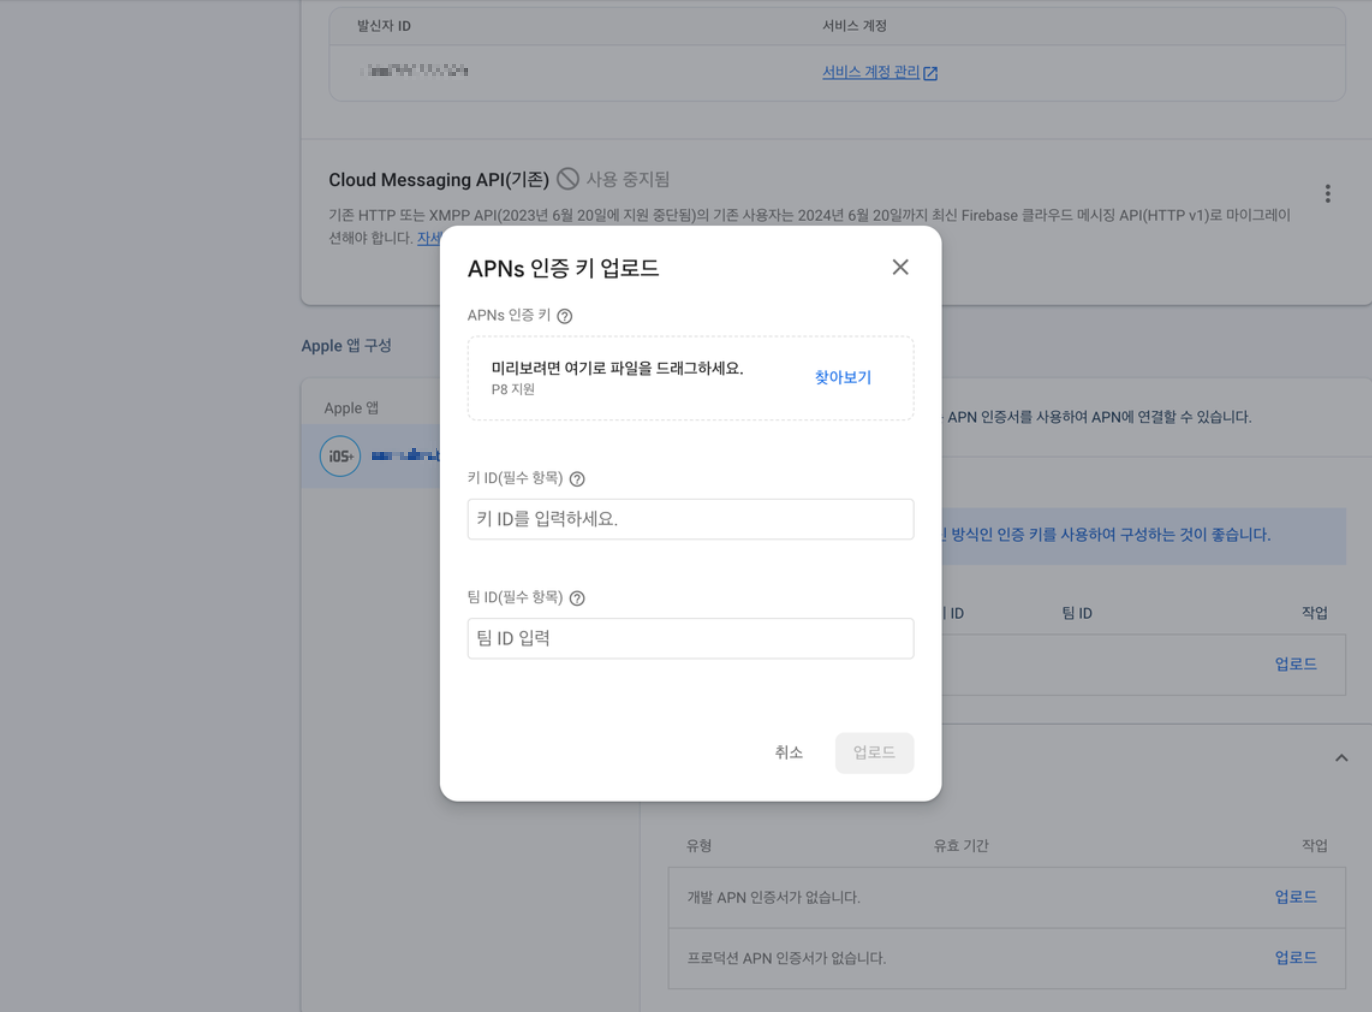
팀 이름은 본인 애플 계정에 있는 값입니다.

10. 공식 문서에 나타나있는 것 처럼 AppDelegate에 원격 알림 등록, 델리게이트 설정, 등록된 토큰 접근, 토큰 갱신 모니터링에 대한 식들을 추가해줍니다. ([클라우드 메세징] → [iOS] → [Apple 플랫폼 클라이언트 설정])
다음은 전체 코드입니다. AppDelegate에 해당 코드를 작성해줍니다.
import UIKit
import FirebaseCore
import FirebaseMessaging

@main
class AppDelegate: UIResponder, UIApplicationDelegate {

		// gcmMessageIDKey 설정
    let gcmMessageIDKey = "gcm.Message_ID"

    func application(_ application: UIApplication, didFinishLaunchingWithOptions launchOptions: [UIApplication.LaunchOptionsKey: Any]?) -> Bool {
        // Override point for customization after application launch.

        FirebaseApp.configure()

        // 원격 알림 등록
        UNUserNotificationCenter.current().delegate = self

        let authOptions: UNAuthorizationOptions = [.alert, .badge, .sound]
        UNUserNotificationCenter.current().requestAuthorization(
            options: authOptions,
            completionHandler: { _, _ in }
        )

        application.registerForRemoteNotifications()

        // 델리게이트 설정
        Messaging.messaging().delegate = self

        return true
    }

    // MARK: UISceneSession Lifecycle

    func application(_ application: UIApplication, configurationForConnecting connectingSceneSession: UISceneSession, options: UIScene.ConnectionOptions) -> UISceneConfiguration {
        // Called when a new scene session is being created.
        // Use this method to select a configuration to create the new scene with.
        return UISceneConfiguration(name: "Default Configuration", sessionRole: connectingSceneSession.role)
    }

    func application(_ application: UIApplication, didDiscardSceneSessions sceneSessions: Set<UISceneSession>) {
        // Called when the user discards a scene session.
        // If any sessions were discarded while the application was not running, this will be called shortly after application:didFinishLaunchingWithOptions.
        // Use this method to release any resources that were specific to the discarded scenes, as they will not return.
    }


}

// MARK: - FCM에서 전송하는 알람을 수신하기 위한 델리게이트 설정
extension AppDelegate: UNUserNotificationCenterDelegate {
  // 알림 처리
  func userNotificationCenter(_ center: UNUserNotificationCenter,
                              willPresent notification: UNNotification) async
    -> UNNotificationPresentationOptions {
    let userInfo = notification.request.content.userInfo

    // With swizzling disabled you must let Messaging know about the message, for Analytics
    // Messaging.messaging().appDidReceiveMessage(userInfo)

    // ...

    // Print full message.
    print(userInfo)

    // Change this to your preferred presentation option
        return [[.alert, .sound, .banner]]
  }
		// 자동 푸시 알림 처리
    func application(_ application: UIApplication,
                     didReceiveRemoteNotification userInfo: [AnyHashable: Any]) async
      -> UIBackgroundFetchResult {
      // If you are receiving a notification message while your app is in the background,
      // this callback will not be fired till the user taps on the notification launching the application.
      // TODO: Handle data of notification

      // With swizzling disabled you must let Messaging know about the message, for Analytics
      // Messaging.messaging().appDidReceiveMessage(userInfo)

      // Print message ID.
      if let messageID = userInfo[gcmMessageIDKey] {
        print("Message ID: \(messageID)")
      }

      // Print full message.
      print(userInfo)

      return UIBackgroundFetchResult.newData
    }


  func userNotificationCenter(_ center: UNUserNotificationCenter,
                              didReceive response: UNNotificationResponse) async {
    let userInfo = response.notification.request.content.userInfo

    // ...

    // With swizzling disabled you must let Messaging know about the message, for Analytics
    // Messaging.messaging().appDidReceiveMessage(userInfo)

    // Print full message.
    print(userInfo)
  }
}

extension AppDelegate: MessagingDelegate {
		// 토큰 갱신 모니터링
    func messaging(_ messaging: Messaging, didReceiveRegistrationToken fcmToken: String?) {
        print("Firebase registration token: \(String(describing: fcmToken))")

        let dataDict: [String: String] = ["token": fcmToken ?? ""]
        NotificationCenter.default.post(
            name: Notification.Name("FCMToken"),
            object: nil,
            userInfo: dataDict
        )
        // TODO: If necessary send token to application server.
        // Note: This callback is fired at each app startup and whenever a new token is generated.
    }
}
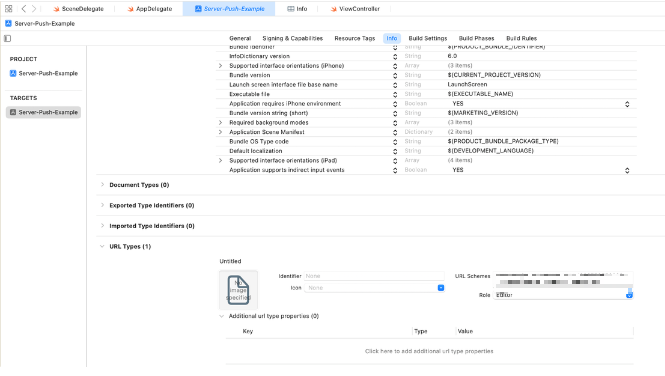
11. GoogleService-Info.plist에 있는 REVERSED_CLIENT_ID를 확인합니다.
하지만 해당 정보가 없는 경우가 있는데, 이에 대한 상황은 다른 포스팅에서 다루겠습니다.
12. [Target] -> [Info] -> [URL Types]에서 추가 버튼을 클릭하여 URL Schemes에 REVERSED_CLIENT_ID를 입력합니다.
주의하셔야 할 점은 해당 값은 plist에 올라가는데, URL Scheme값도 올라가기 때문에, .gitignore 설정을 하시는 것을 추천드립니다 !
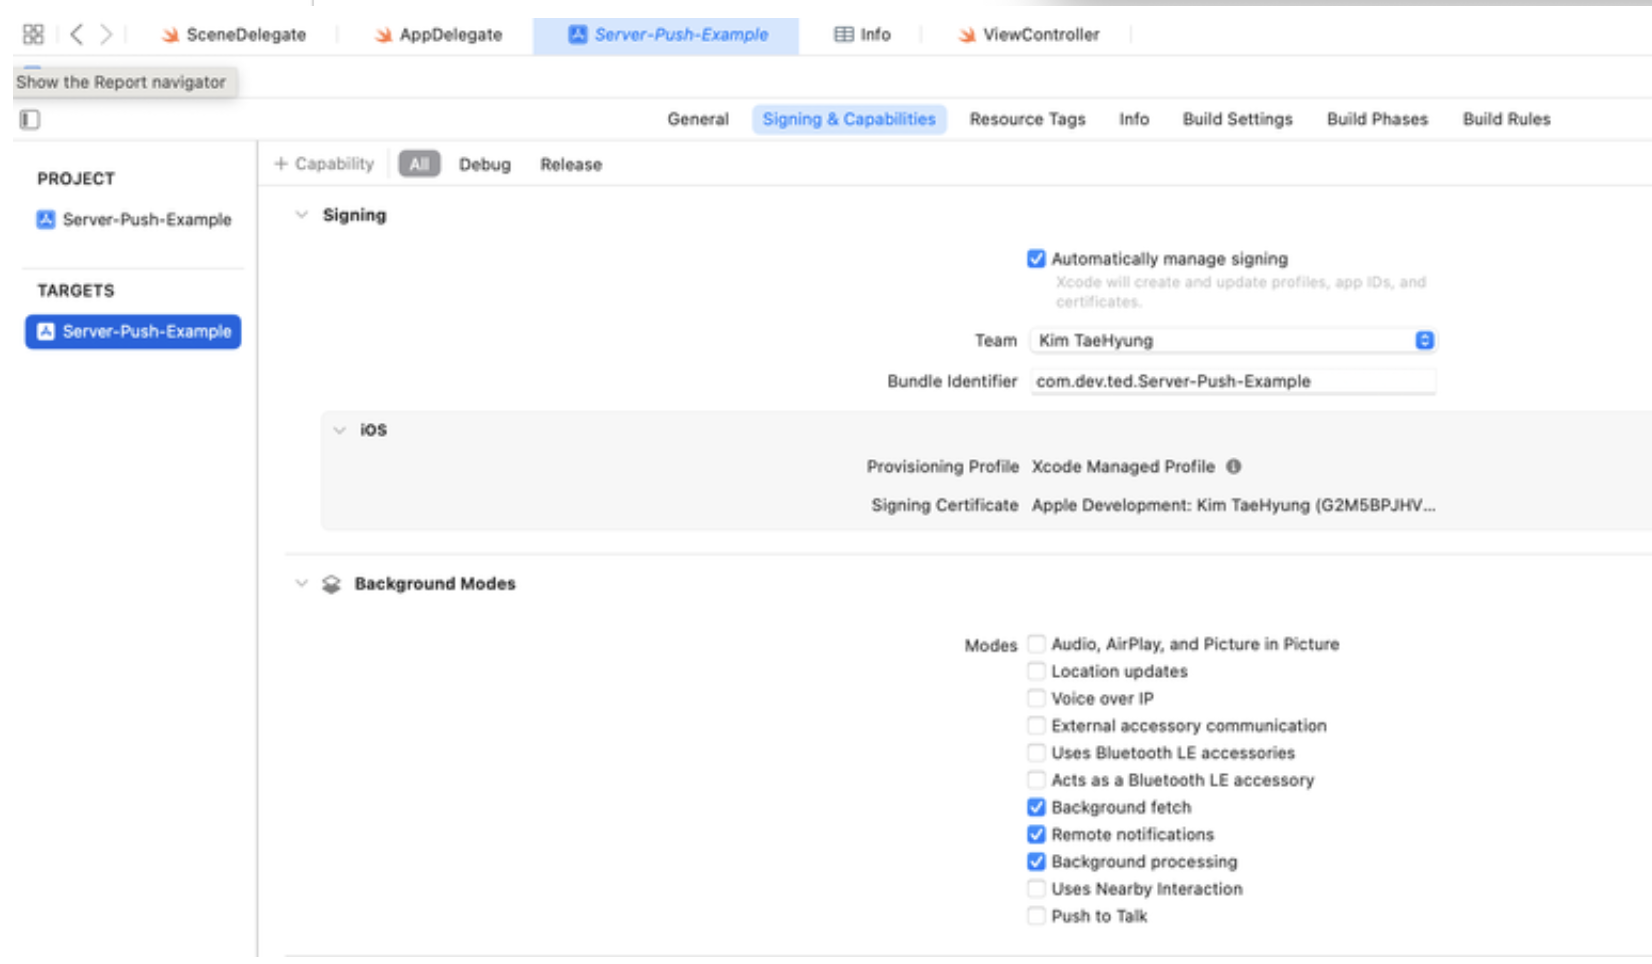
13. [Target] → [Signing & Capabilities]에서 Background Mode를 추가하고, Background fetch, Remote notifications, Background processing을 선택합니다.
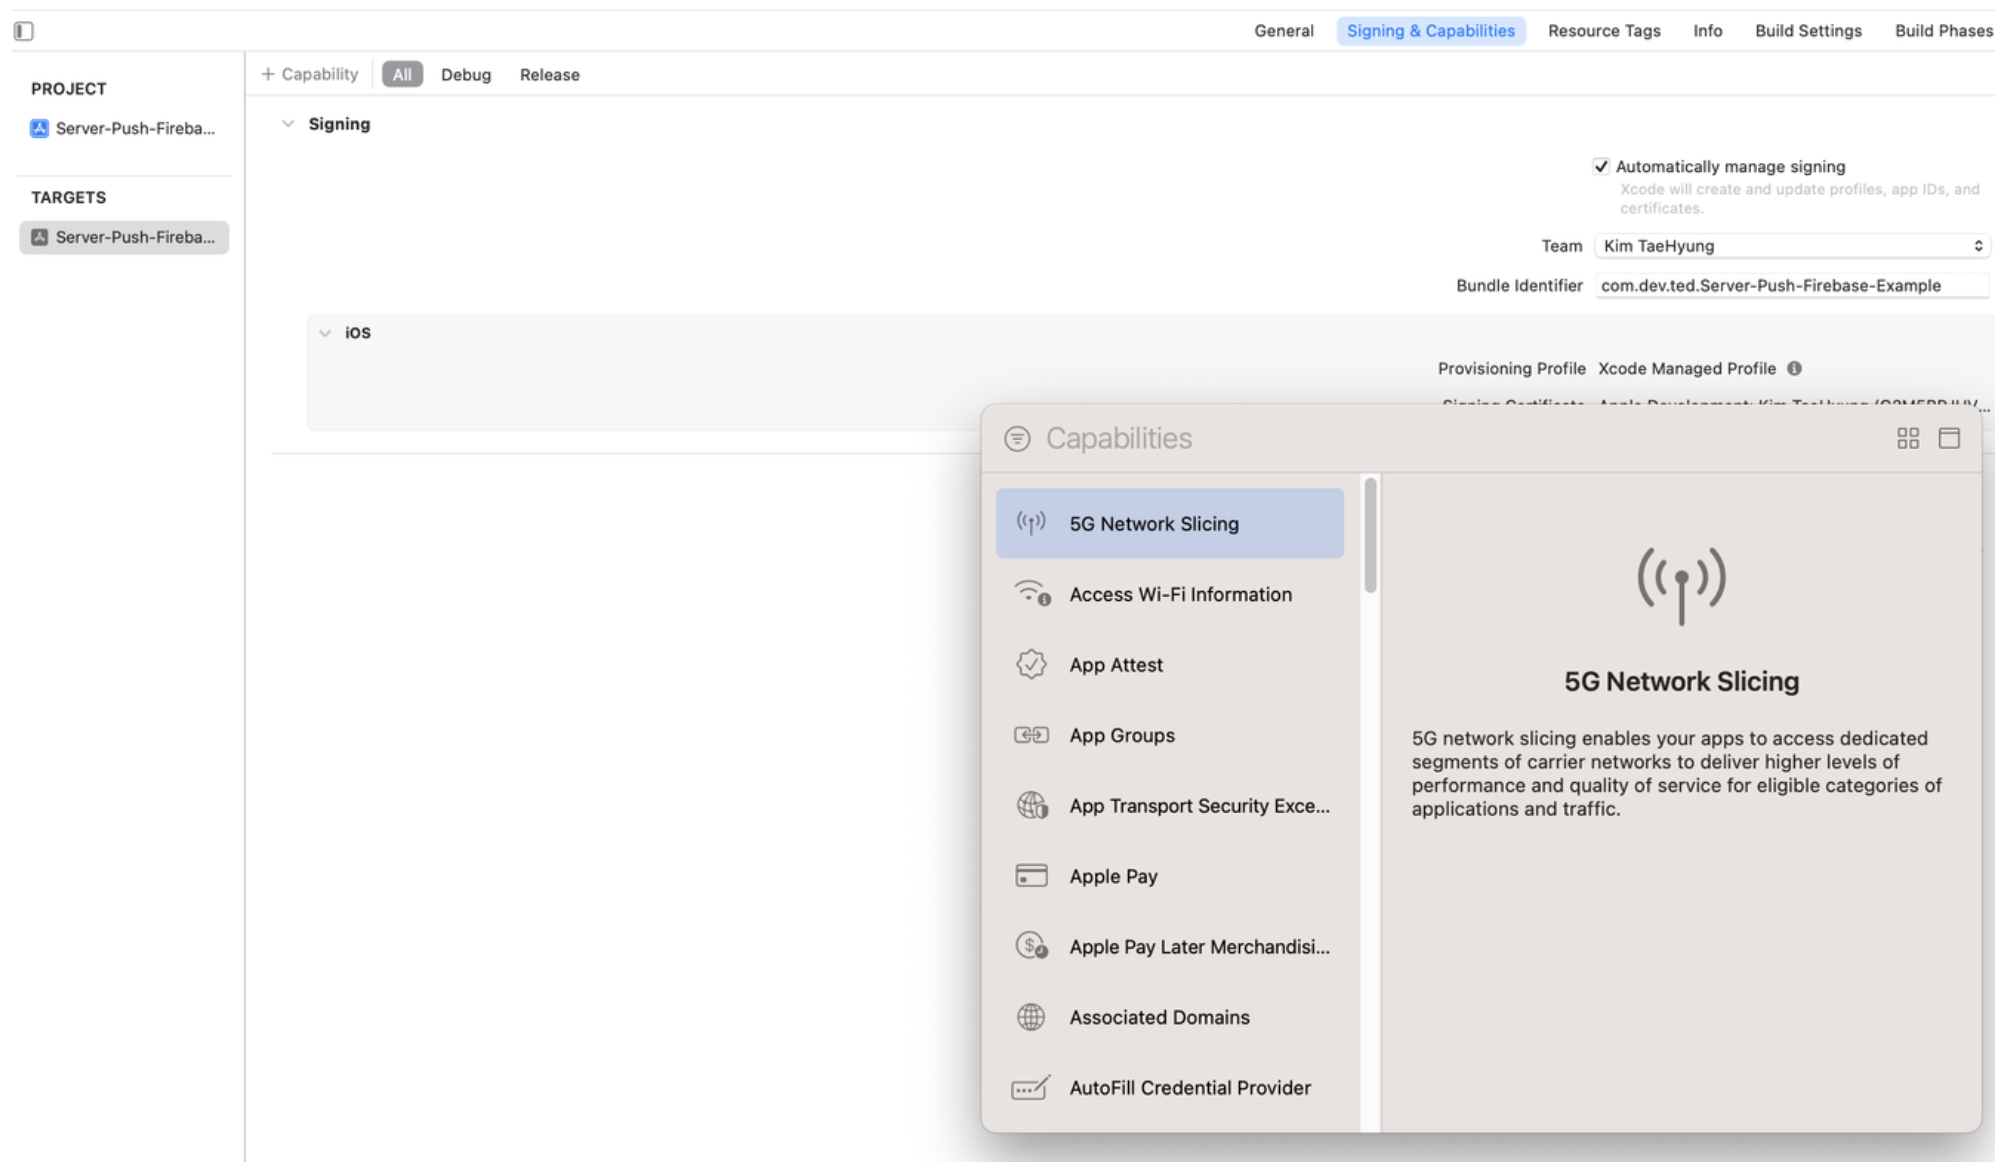
14. [Target] → [Signing & Capabilities]에서 Push Notifications 또한 추가해줍니다.

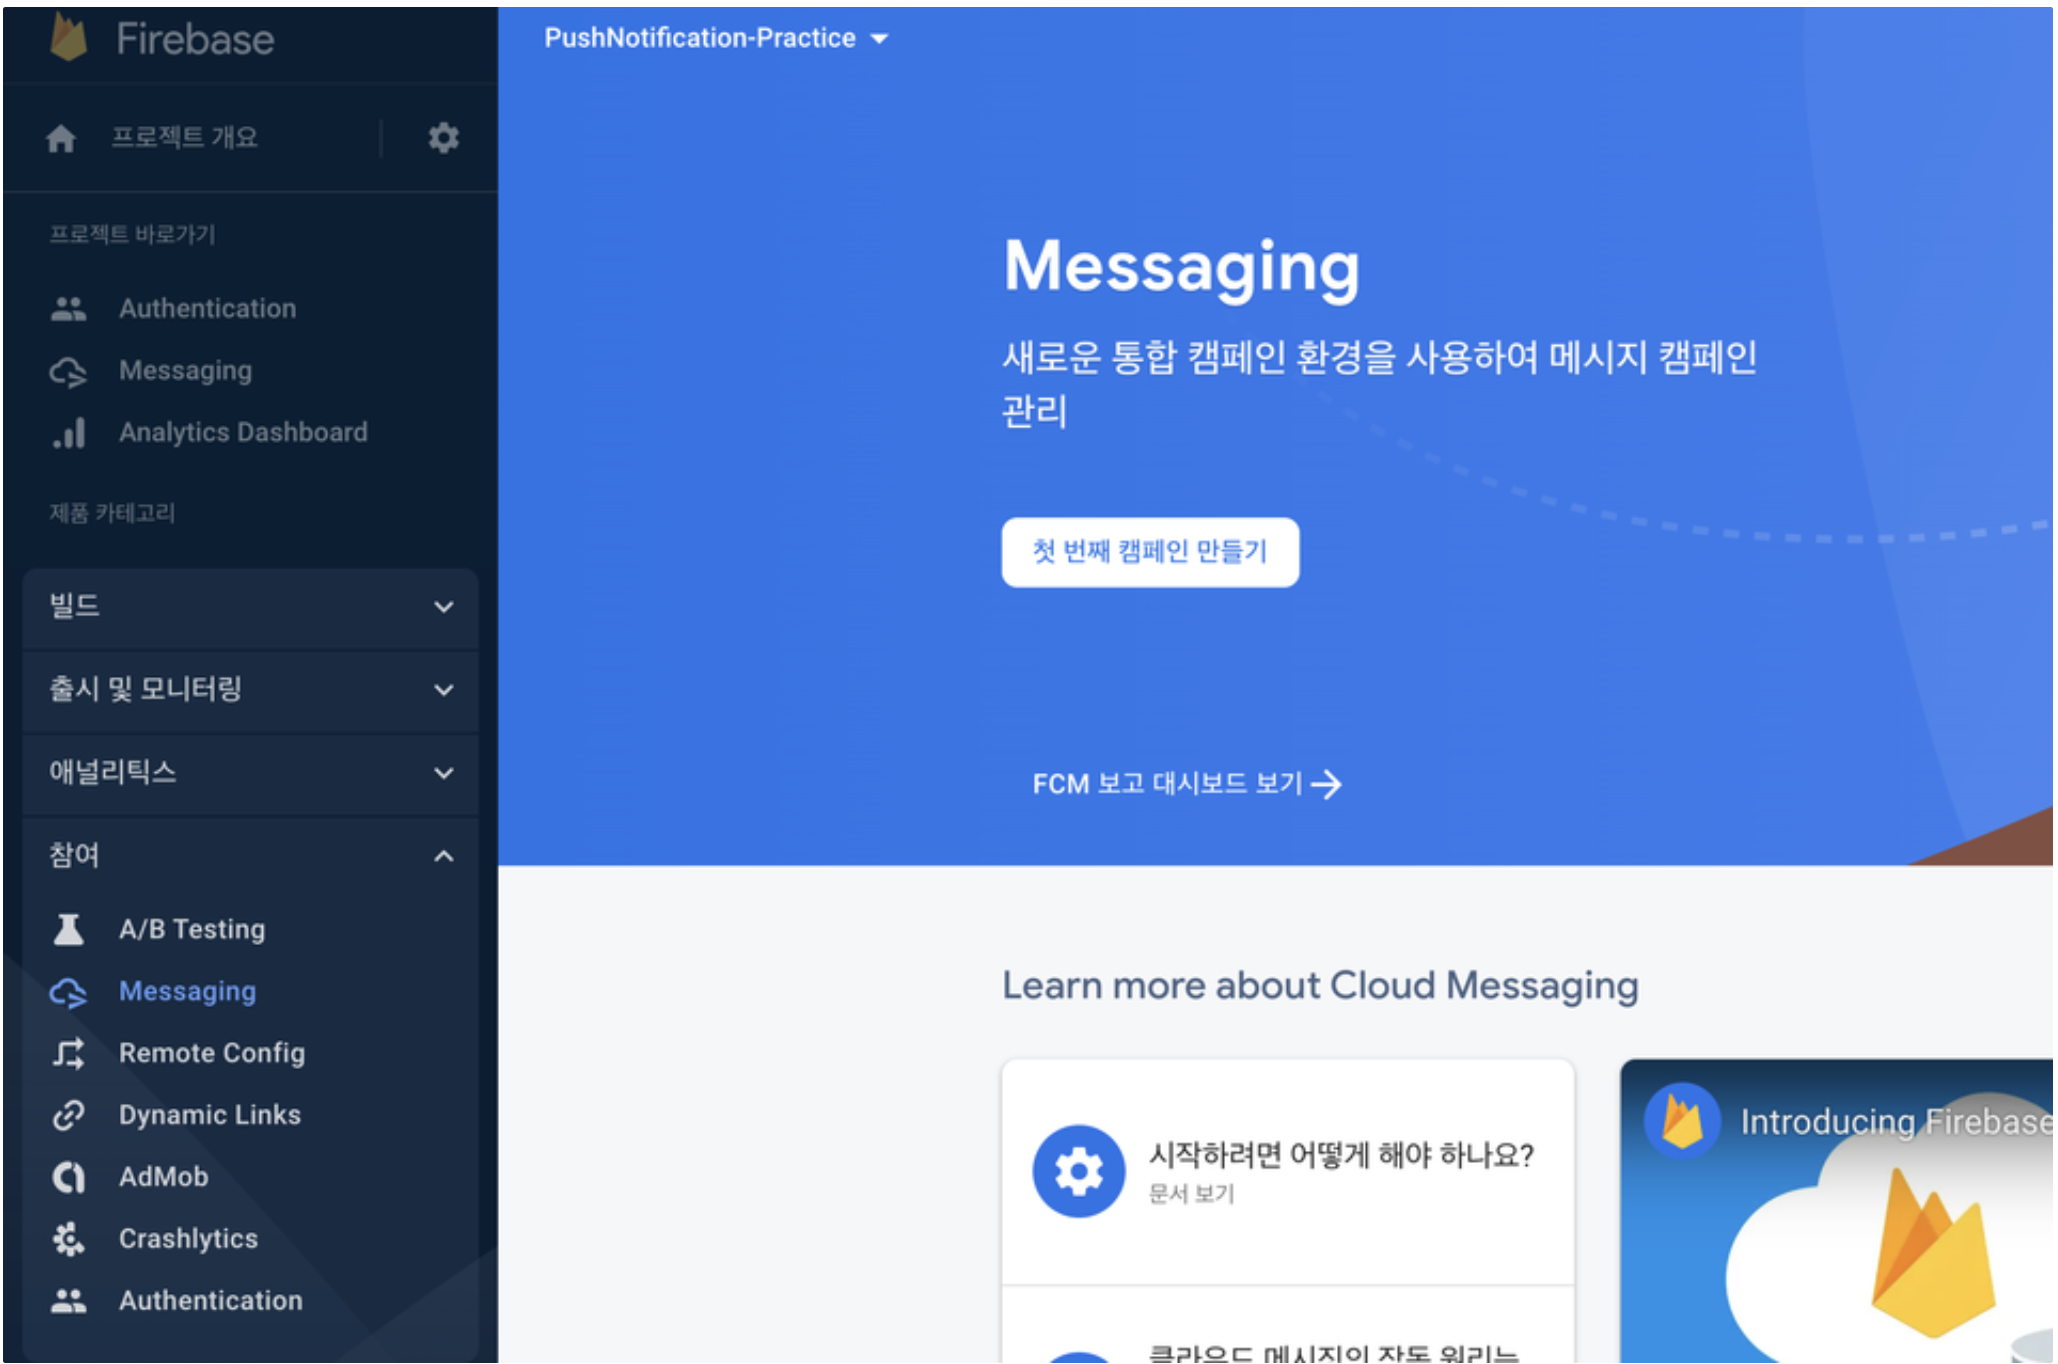
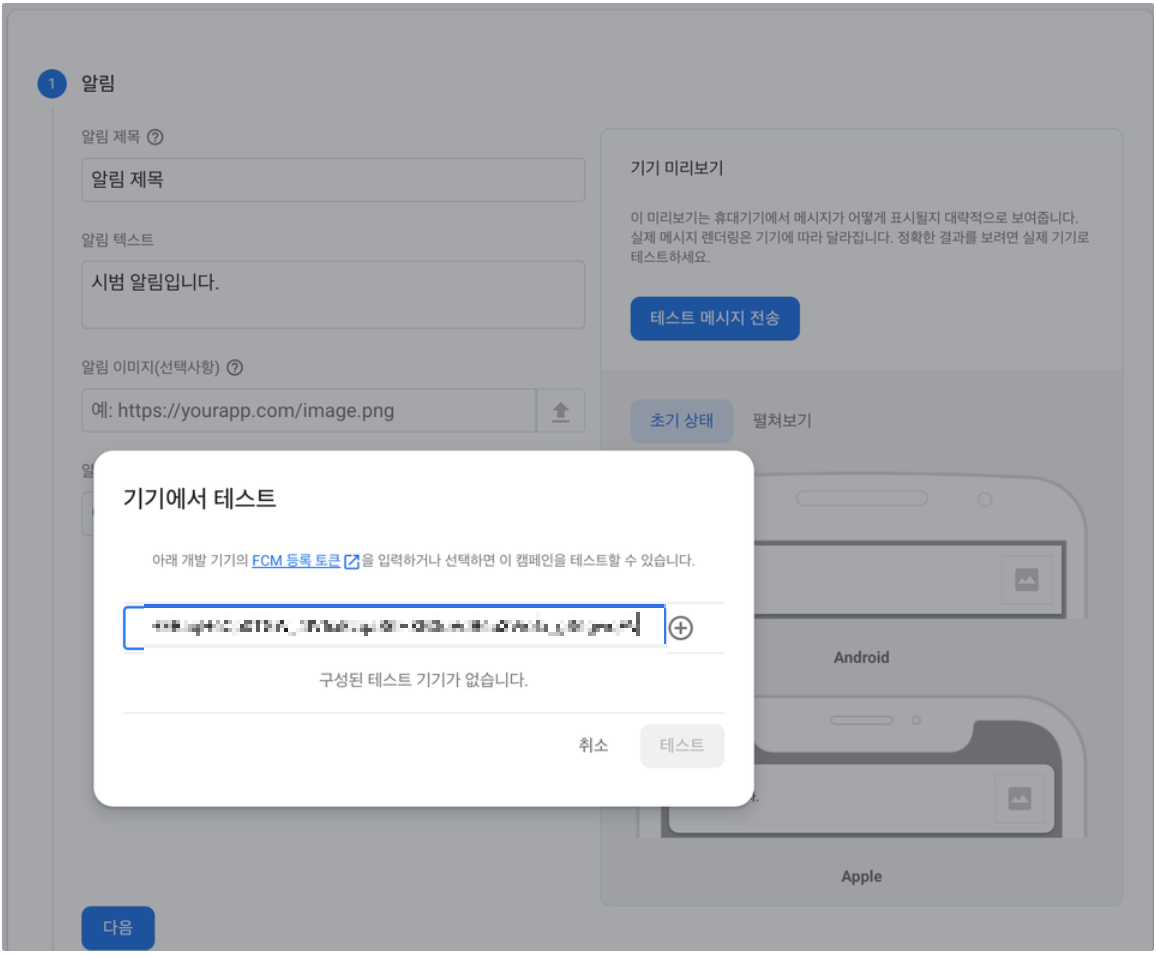
15. Firebase 페이지에서 [참여] → [Messaging] → [첫 번째 캠페인 만들기]를 선택하고, Firebase 알림 메시지를 클릭합니다.
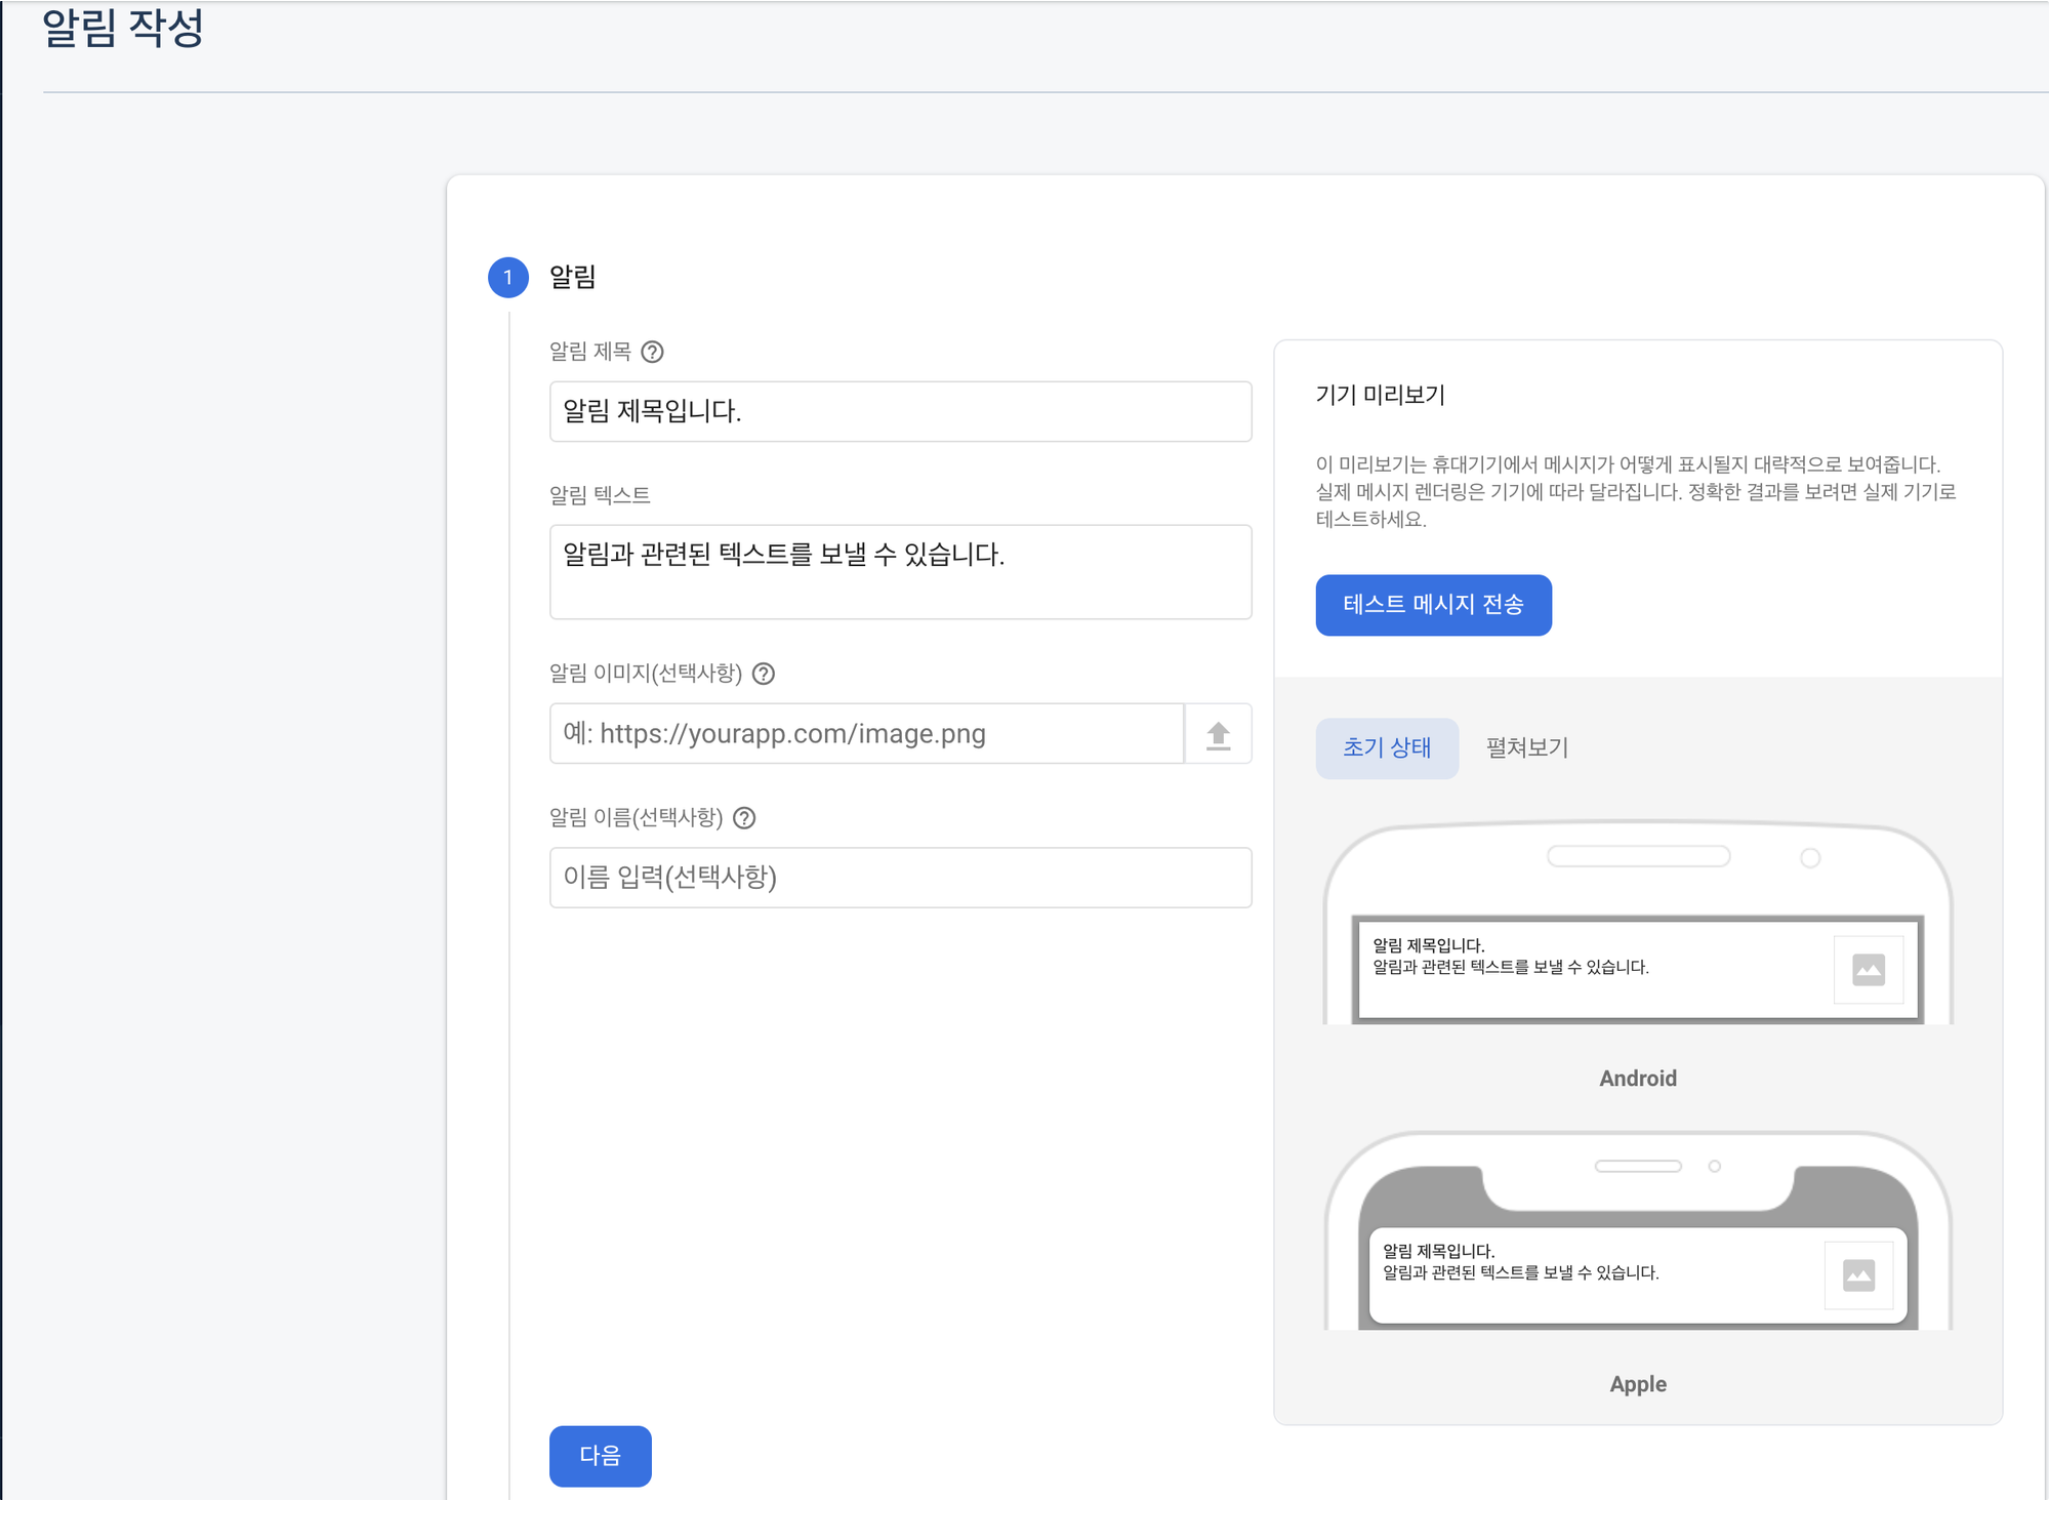
16. 알림 메세지 정보를 입력하고 텍스트 메세지 전송을 클릭합니다.
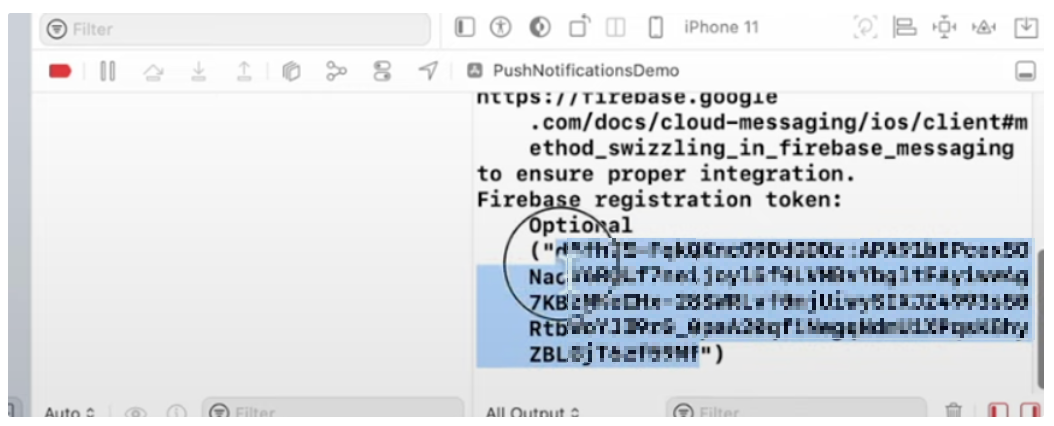
17. FCM 토큰 값을 등록한 뒤에 테스트를 클릭한다면 알림이 정상적으로 동작함을 알 수 있습니다.
FCM 토큰은 앱을 실행했을 때 콘솔에 나타나는데, 실기기에서만 테스트가 가능하기 때문에 실기기를 연결하고 진행해주셔야 디바이스 토큰값을 받아올 수 있습니다 !
(어떤 상황에서도 될 때도 있긴 한데, 확실한 방법은 실기기에서 테스트하는 것입니다.)
18. 해당 토큰으로 보냈을 때 정상적으로 발송됨을 알 수 있습니다.
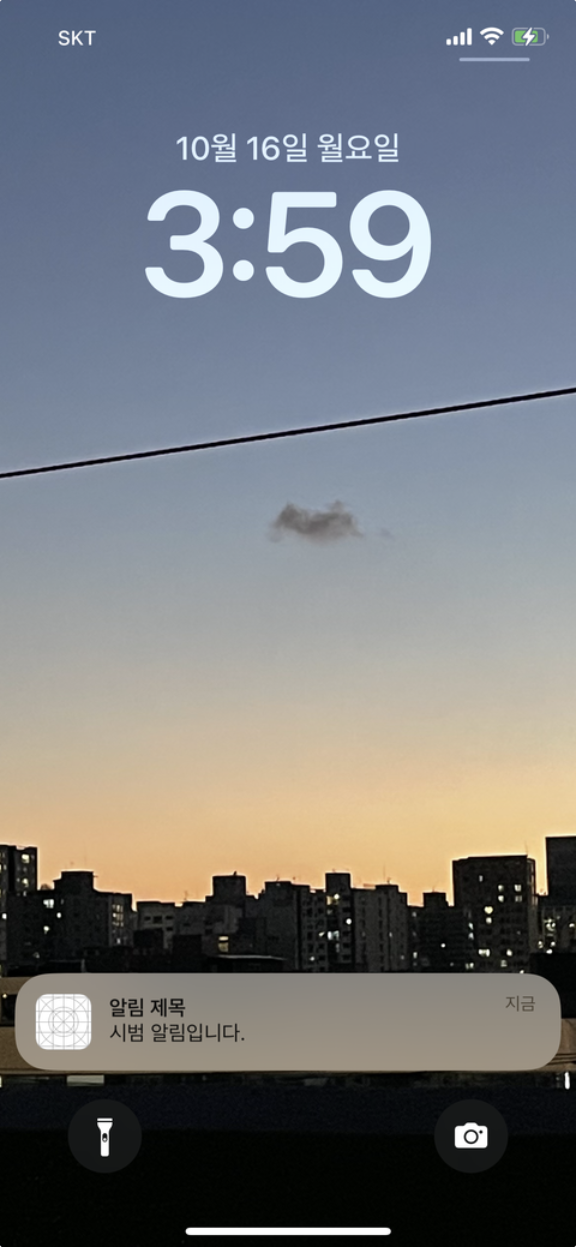
위 부분은 Firebase Messaging Console을 통해 서버 푸시를 보내는 방법이었습니다.
다음에는 서버 환경을 이용(그 중 Firebase Cloud Functions)하여 서버 푸시를 진행해보고자 합니다.